15th century German Knees
Page 8
Expanding the wing
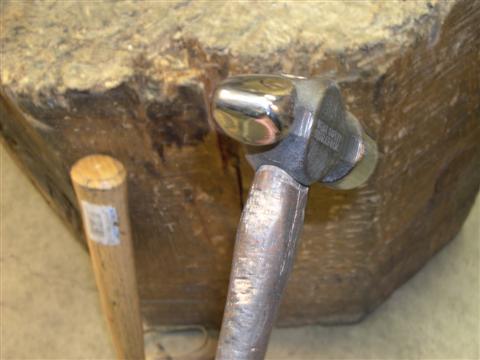
This ball peen hammer has been ground into a rebated cross peen. I use this
for stretching metal. It was one of my first hammers and I believe I have
used it on every order in the last 13 years. I have to thank Craftsman for
making such a good product :)
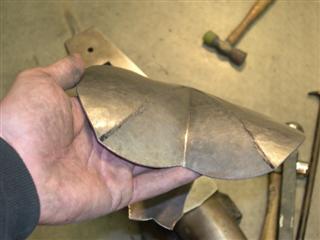
The plates of the cuisse and the lower lame of the leg are wider than the
knee on the original suit so the wing needs to flair a bit in order to
accommodate proper articulation. To achieve this I expanded the steel at
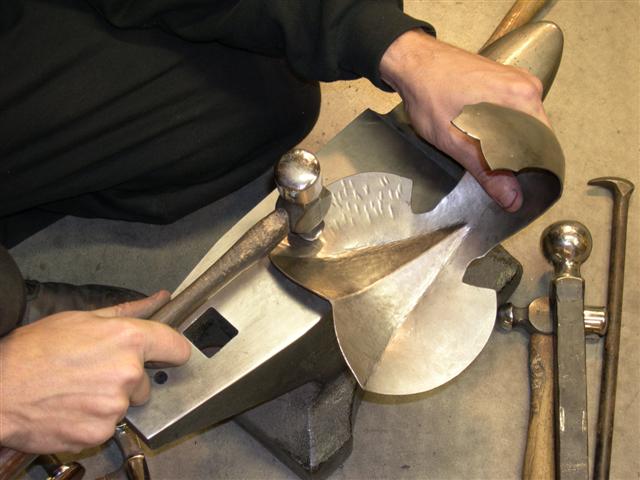
the top and bottom of the wing. Striking the areas with the cross peen
causes the metal to stretch. The upper and lower areas tend to move outward
from the centre and also causes the whole wing to curve slightly inward along its horizontal line.
Even after being thoroughly hammered the effect isn't very noticeable until
it is struck again with the face of the hammer.
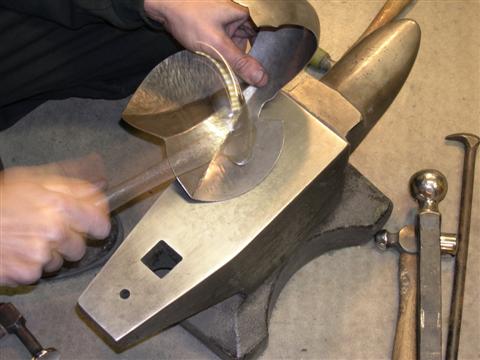
Striking the peened area with firm hits using a subtle round face hammer pushes
out the high spots and causes the wing to flair and curve.
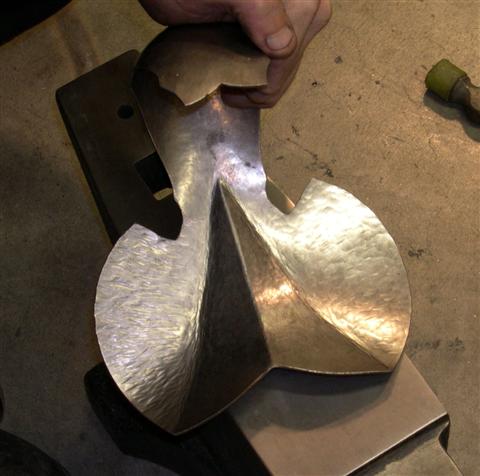
The pictures above and below were taken after both sides of the wing were hit with
the cross peen but only one side was worked with the face of the hammer.
Notice how much more shape is in the left side as opposed to the right.
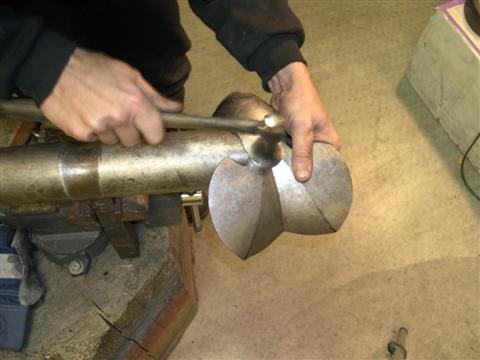
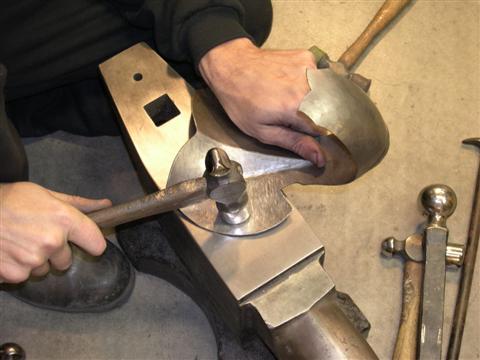
After both top and bottom of the wing are expanded the wing is planished
over the T stake or the horn of an anvil.
Next Page
The finished form
